


Step-by-Step: Creating and Publishing a Web Experience
After completing this topic, you should be able to:
- Use Brightcove Engage to create a new Web experience
- Add videos to an experience
- Customize an experience
- Preview and publish an experience
Audience
Anyone who needs to create web video portals to display video content.
Prerequisites
- A Brightcove Engage account (sign up for a trial)
Before you get started
This step-by-step guide will use the sample videos that are included with the Brightcove Engage trial account. Feel free to upload and use your own videos.
Creating a Web experience
To create a Web Experience using Brightcove Engage, you will complete the following tasks:
Organizing videos using playlists
Before you start creating experiences it's helpful to think about how you want to organize/group your videos. Typically, you'll want to group related videos together. For example, you may want to group the CEO videos together, the HR videos together , marketing videos, etc. When viewers use your Web Experience, they will see a list of these groups, select a group and then choose the videos they want to watch. When using Brightcove Engage, related videos are grouped using Playlists.
To organize the sample videos into playlists, follow these steps.
- Log in to Brightcove Engage. The Projects page will appear.
- Click the Videos tab in the navigation header. A list of the sample videos will appear.
- In the left navigation, click + Create Playlist.
- Set the Playlist type to Manual.
- Set the Playlist Name to
Featured Video. - Check Show Playlist in Sidebar.
- Click Save.
- Using the same settings, create two more playlists,
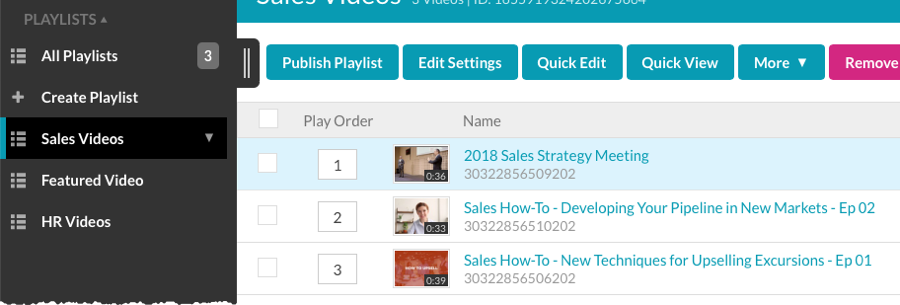
Sales VideosandHR Videos. You should have three playlists created.
- In the left navigation, click All Videos.
- Click the checkbox next to the 2019 All Hands Meeting video and then click More > Add to Playlist.
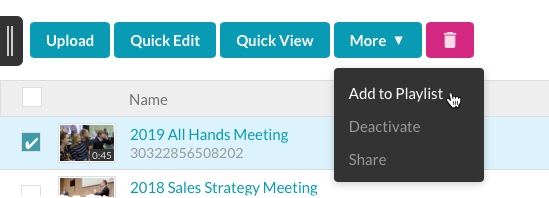
- Select the Featured Video playlist and then click Add.
- Select the following videos and add them to the Sales Videos playlist.
- 2018 Sales Strategy Meeting
- Sales How-To - Developing Your Pipeline in New Markets - Ep 02
- Sales How-To - New Techniques for Upselling Excursions - Ep 01
- Select the following videos and add them to the HR Videos playlist.
- HR - Building Your Internal Communications Plan - E02
- HR - Onboarding New Employees - E01
All of the videos are now organized into playlists. Clicking a playlist name in the left navigation will display the videos in that playlist.
Creating a new Web experience
Now that the videos are organized into playlists, we can create a new experience. To create a new Web experience, follow these steps.
- In the navigation header, click the Projects tab.
- Confirm the Create Experience page appears. If a list of experiences appears, click New Experience to display the Create Experience page.
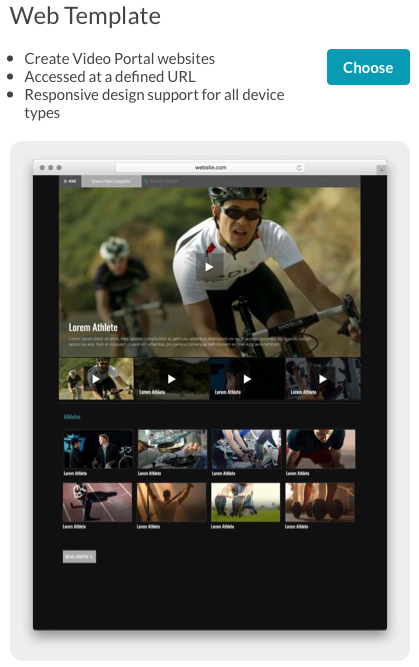
- Locate the Web Template and click Choose.
- Enter Sample Web Template Experience for the Experience Title. For the Pre-Populate experience? setting, select No thanks.
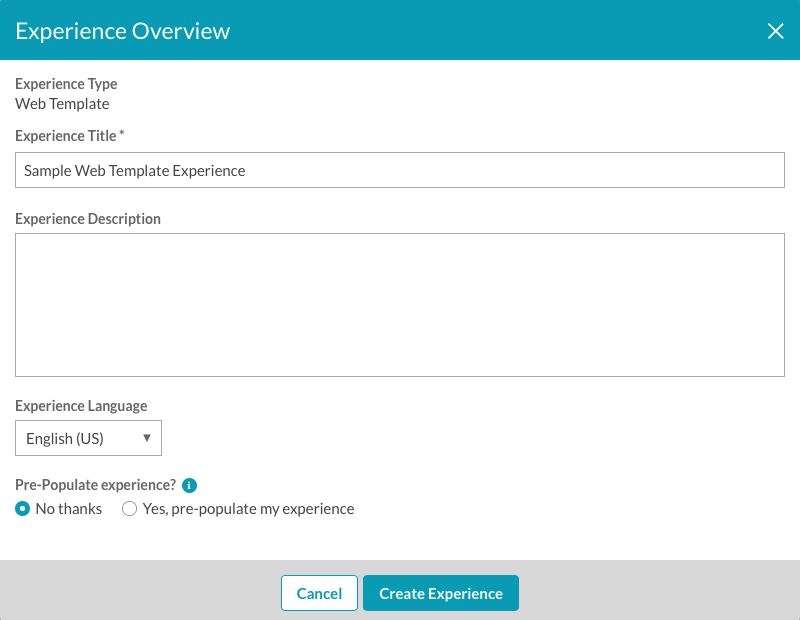
- Click Create Experience.
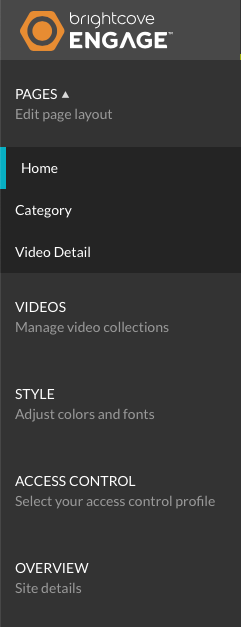
The Experience Editor will open. The Experience Editor is used to customize the experience and provides the ability to customize page layouts, add videos, choose styles and configure other settings. All of the customization settings are accessed using the left navigation menu.
Editing the site details
The experience title, description and language settings can be edited using the Experience Editor.
- Click OVERVIEW in the left navigation.
- For the Experience Description, add Sample Web Experience.
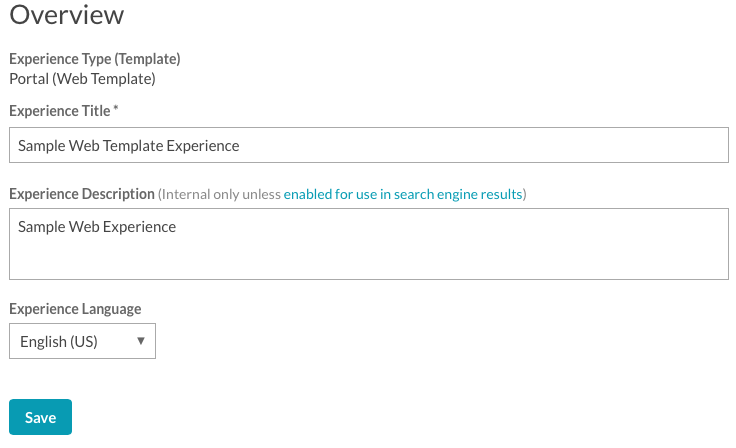
- Click Save.
Adding images and text to a page template
Each web template provides a set of page templates that can be customized. The Web Template provides Home, Category and Video Detail page templates. These pages can be seen in the left margin as part of the PAGES menu.

Page templates will display placeholders on the page and a pencil icon (![]() ) indicates that the object can be edited. These placeholders can be used to add images, text and links to your page.
) indicates that the object can be edited. These placeholders can be used to add images, text and links to your page.
For more information on adding objects to page templates, see Adding Images, Text and Links to Web Experience Pages.
To add objects to a page template, follow these steps.
- Click PAGES > Home in the left navigation. Pencil icons (
 ) indicate areas on the page where images/text/links can be added. Static text objects on the page can be edited by clicking on them.
 - At the top of the page, click on + Add Content.
- Click on the Upload option and then click Save. Selecting Upload will add an image placeholder to the page.
- Click on + Add Photo.
- Click Choose File and then browse and select and image to use for the header. Click Save.
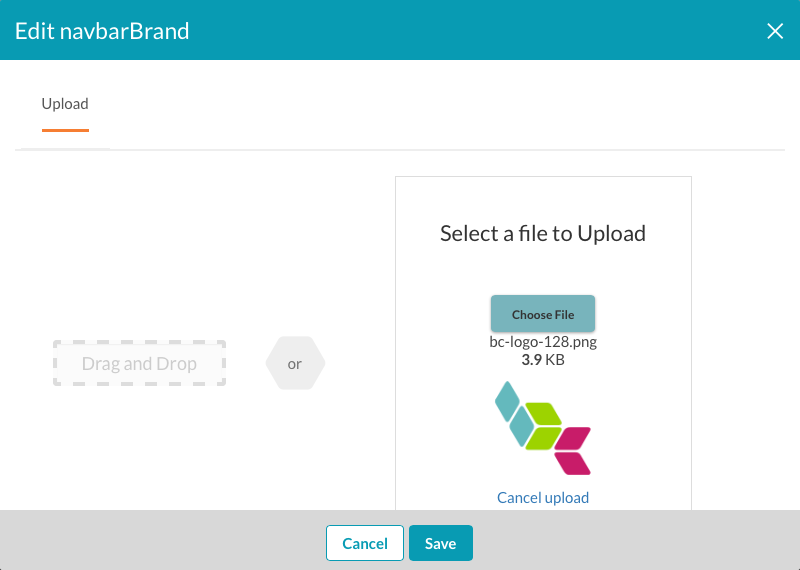
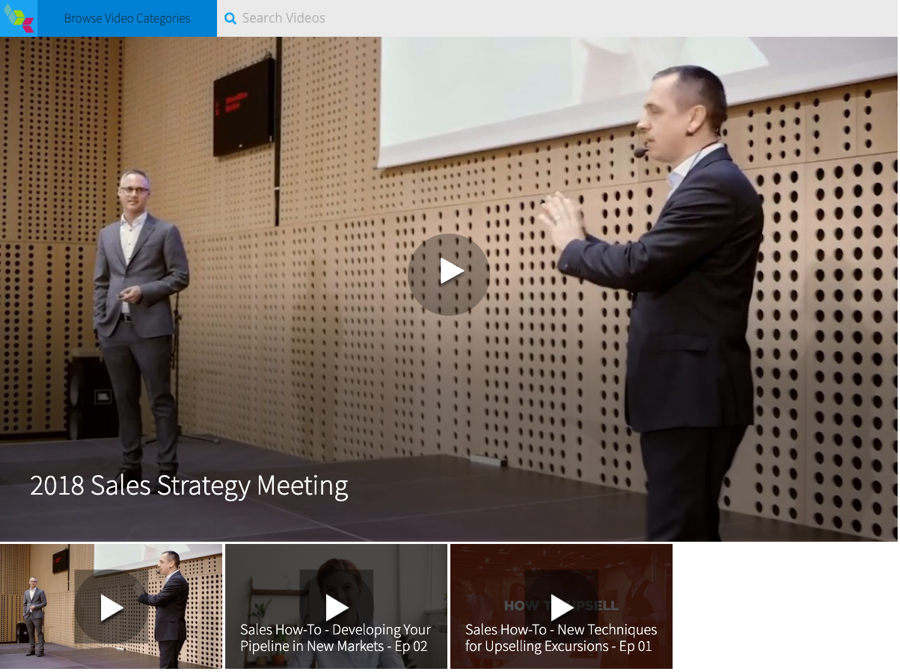
- Verify that the image appears in the page header.

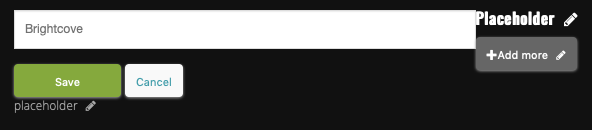
- At the bottom of the page, click on PLACEHOLDER on the left side of the footer. Enter your company name and then click Save.
- Click on the Category and Video Detail pages in the left margin. Notice that the header image and title text appear on those pages as well. Go back to the Home page.
Creating collections and adding videos to the collections
Using the Experience Editor, you can select which videos to display in the experience. When creating experiences, videos are organized into collections. For this example, collections will be based upon the playlists that were created earlier.
For more information on creating collections and adding videos to an experience, see Adding Videos to an Experience.
To add videos to the experience, follow these steps.
- Click VIDEOS in the left navigation.
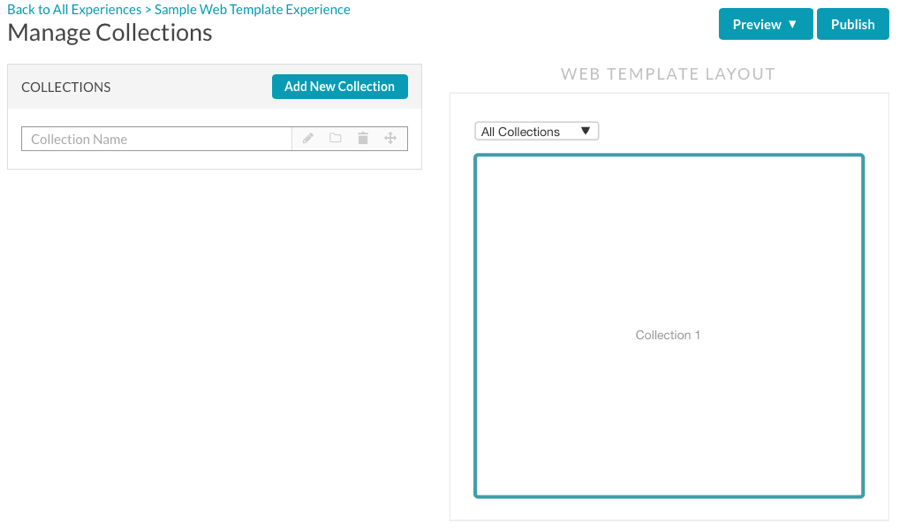
- Name the first collection Sales and then press enter.
- Click the collection name to open the collection editor.

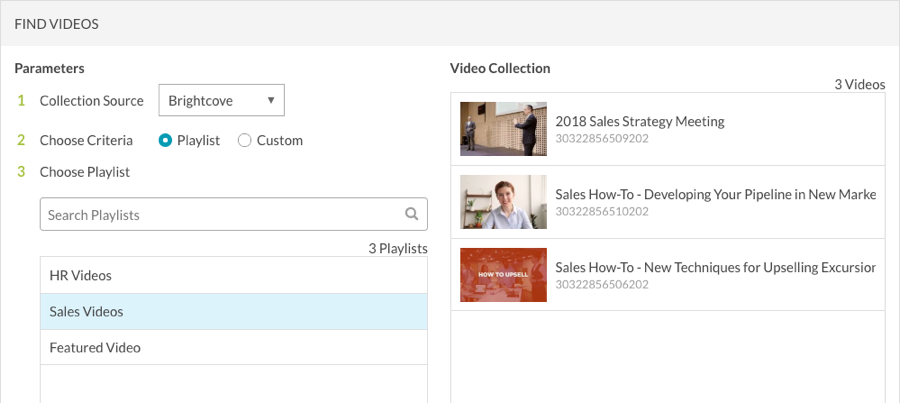
- Select Playlist for the criteria.
- Click the Sales Videos playlist. The videos in that playlist will appear in the videos list. Click Save.
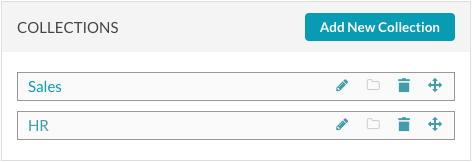
- Create another collection named HR using the HR Videos playlist as the criteria.
- Confirm that 2 collections have been created.
Previewing the experience
Previewing an experience lets you see how the site is going to display on mobile, tablet and desktop devices. You will want to preview the experience as you go through the steps to customize it. The experience can be previewed in a new browser tab or a shareable link can be generated so others can preview the portal. For more information on previewing and publishing a Web experience, see Previewing and Publishing a Web Experience.
To preview the experience, follow these steps.
- While editing the experience, click Preview and then click Responsive Preview.
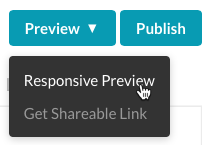
- The preview will open in a new browser tab.
- Close the site preview tab.
Changing the site style
The Style settings can be used to customize the site colors and fonts that are used on the experience. For more information on changing the site style, see Customizing the Style of a Web Experience.
To change the site style, follow these steps.
- Click STYLE in the left navigation.
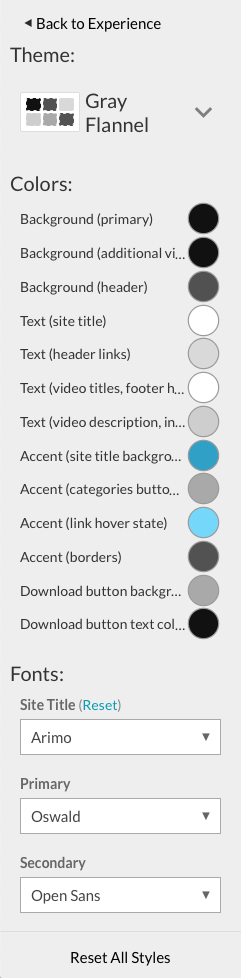
- A Theme is a set of colors and fonts that can be applied to a template. Select a Theme. This example will use the Shades of Blue theme.
- Select a Primary and Secondary font to use. The Site Title font controls the title font used in the header. If you followed this step-by-step document, an image was added to the header earlier.
- Click the < Back to Experience link at the top of the Style menu.
Publishing the experience
Publishing a Web experience makes it available at a public URL. For more information on previewing and publishing a portal experience, see Previewing and Publishing a Web Experience.
To publish the experience, follow these steps.
- From inside the Experience Editor, click Publish.
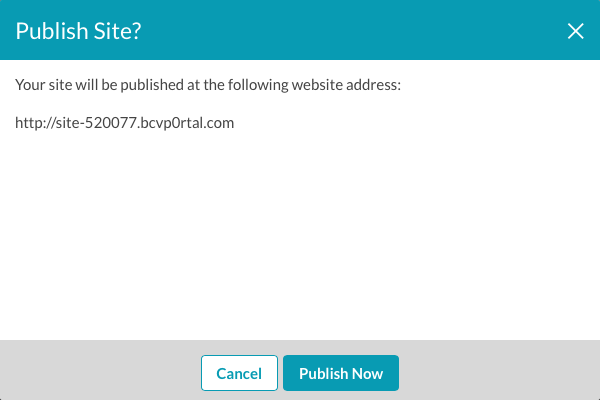
- On the Publish Site dialog, click Publish Now to confirm the publication.
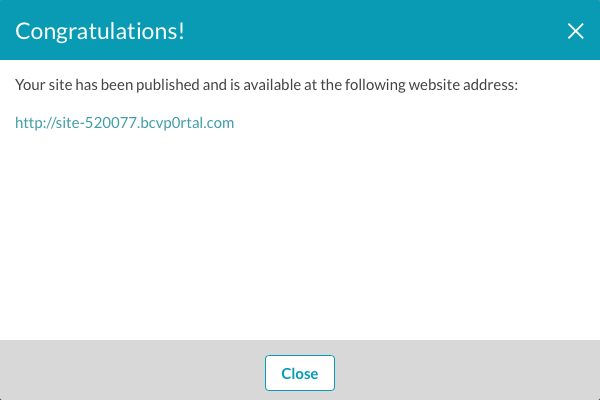
Click on the site URL to open it in another browser tab.