Getting Started with Brightcove Engage™
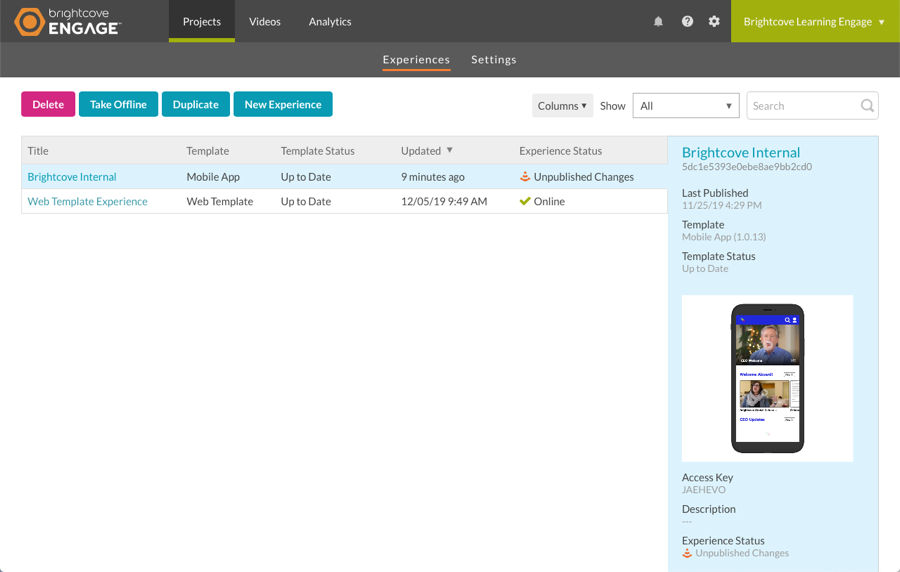
To access Brightcove Engage, navigate to: https://studio.brightcove.com/products/brightcoveengage. Sign in with your email address and password. When the application opens you will be directed to the Projects page. The page header provides the ability to:
- View system notifications
- Manage account settings
- Select an account and view the user profile
- Access application pages

Viewing system notifications
The application header will display a bell icon (![]() ) when there are system notifications available. Clicking the icon will display the list of system notifications.
) when there are system notifications available. Clicking the icon will display the list of system notifications.
The header will display a warning icon (![]() ) when there are system issues. Clicking the icon will open the Brightcove System Status page.
) when there are system issues. Clicking the icon will open the Brightcove System Status page.
Managing account settings
The administration menu can be accessed by clicking the gear icon (![]() ) in the header. The administration menu provides access to:
) in the header. The administration menu provides access to:
- Account Information - View information about the current account
- User Management - Manage the users who are authorized to use the application
- Account Settings - Manage the reporting time zone
- Video Fields - View, create, and modify custom metadata fields for the account
- Media Sharing - Share videos to other accounts
Selecting an account
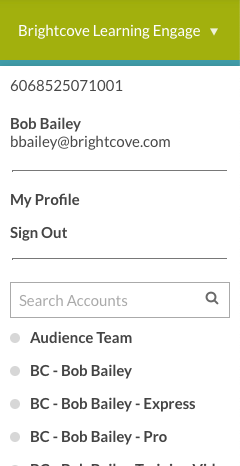
If you have access to multiple accounts, the account selector can be used to select the account you want to access. To switch accounts, click on the Account name in the top right corner of the application. The current account is indicated with a dot preceding the account name.

Click the My Profile link to update your user information and password. For more information, see Managing Profile Information.
Accessing pages
The application header provides access to the various application pages.

The following application pages are available:
Localization
The application language can be changed by changing the language in your profile. The following languages are supported:
- English
- Spanish (Spain)
- Japanese
- French (France)
- Chinese (Traditional)
- Korean
For more information, see Managing Profile Information.

