Adding Images, Text and Links to Web Experience Pages
Objects such as images, text and links can be added to Web Experience pages allowing you to customize and brand your video experience.
Adding objects to pages
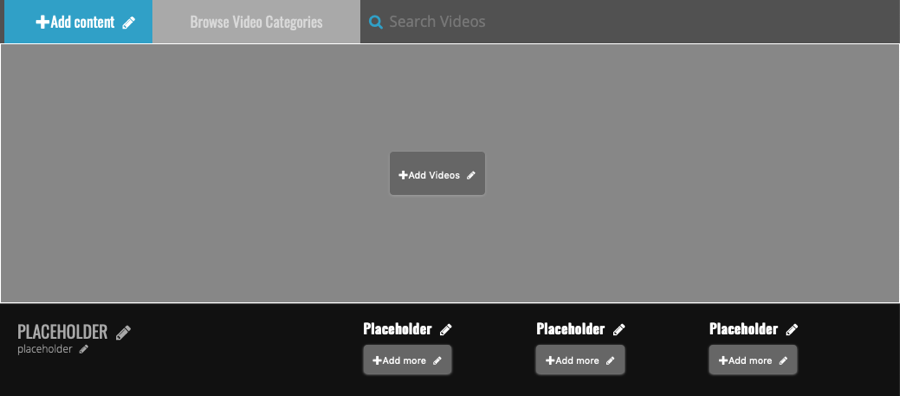
Using the Experience Editor, you can add objects such as images, text and links to a page. To edit the pages, edit the experience and then click PAGES in the left navigation. The page template will display placeholders on the page and a pencil icon (![]() ) indicates objects that can be edited. These placeholders can be used to add images, text and links to your page.
) indicates objects that can be edited. These placeholders can be used to add images, text and links to your page.
Adding text to a page
Text can be added to a page in a couple of different ways:
- By clicking on the +Add content link at the top of the page
- By clicking on any of the text placeholders in the page
Add text by clicking on the +Add content link
To add text to the page by clicking on the +Add content link:
- Click on the +Add content link.
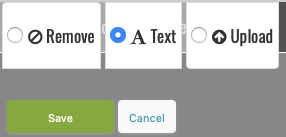
- Select Text and then click Save.
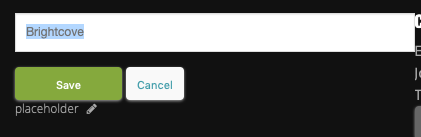
- Click on the placeholder that is added to the page and enter your text. Click Save when done.

Add text by clicking on a text placeholder
Pages will contain numerous text objects where custom text can be added to the page. A pencil icon indicates that the element can be edited.

To add your text:
- Click one of the placeholder objects.
- Enter your text and click Save.

Adding an image to the page header
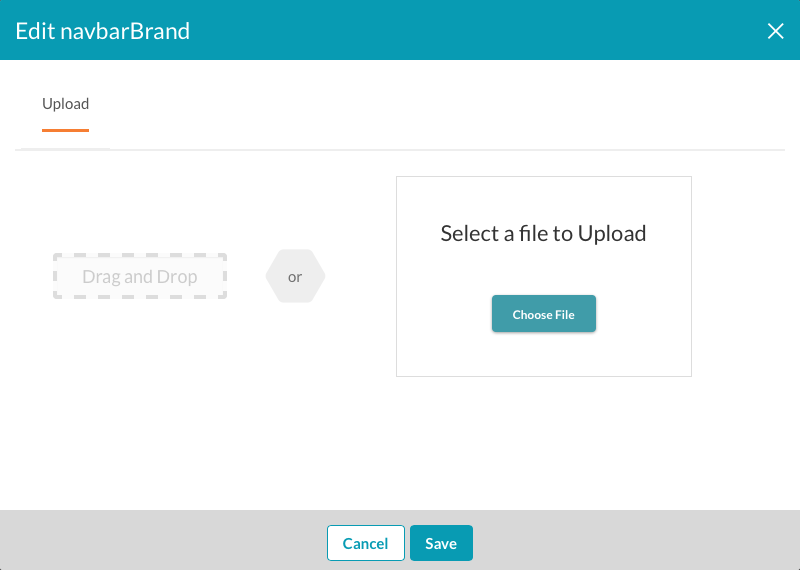
Images will be resized (never upscaled) based upon the template. The image uploader may display recommended image dimensions depending on where the image is being used. JPEG, PNG and GIF images are supported. To add an image to the page header:
- Click the +Add content link.
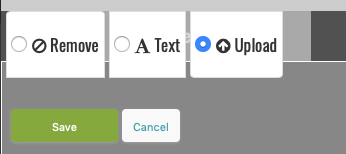
- Select Upload and then click Save.
- Click on the +Add Photo link. The image browser dialog will open.
- To upload a new image, click the Choose File button and then browse and select an image from the file system. You can also drag and drop and image. Click Save when done.
Adding navigation links to the page footer
Navigation links can be added to the page footer. This is useful when you want to have a title and then a series of links below. For example:

The page footer navigation object consists of two parts, a PLACEHOLDER for the title and +Add more for the links.

To add a navigation links to the page footer:
- Click PLACEHOLDER and enter a value for the header.
- Click +Add more and enter the Text and Link. You can also specify the order of the links by setting the List Order value when the link is created.
- Click Save.
Additional navigation links can be entered by clicking +Add more.
Deleting objects from a page
Text, images and links can be removed from the page in a couple of different ways.
To remove text or images from the page header
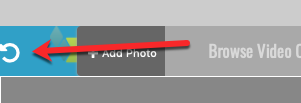
- Click the chasing arrow icon in the page header associated with the text or image.
To remove navigation links from the page footer
- Click the link in the page footer.

- Click Remove.
To remove the title from the page footer
- Click on the title in the page footer.
- Clear the title text and click Save.