


Creating and Managing Experiences
If you are looking to quickly get started creating and publishing an experience, check out one of these documents:
- Step-by-Step: Creating and Publishing a Mobile App Experience
- Step-by-Step: Creating and Publishing a Web Experience
When you open Brightcove Engage™, the Experiences page will list all of the experiences that have been created.
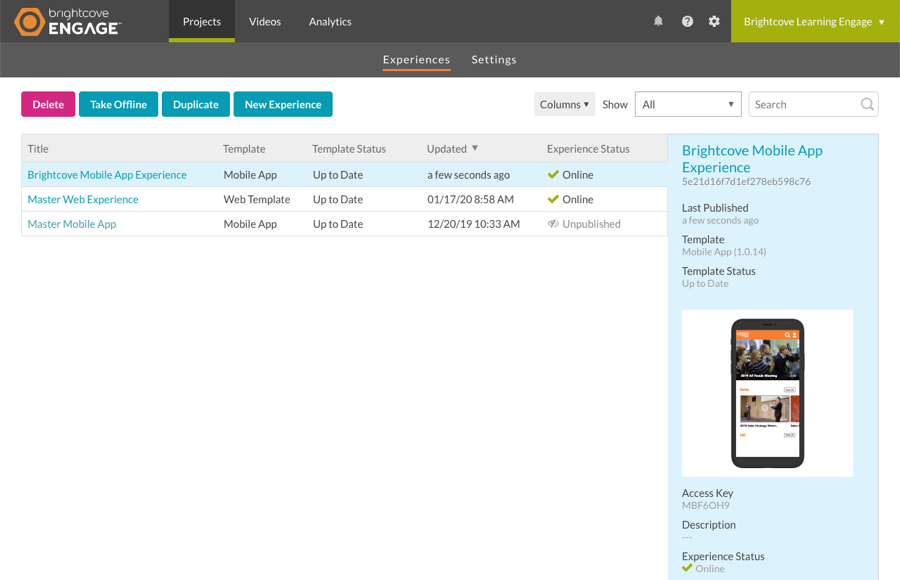
If no experiences have been created, you will be prompted to create an experience. The Experiences page provides the ability to:
- Delete experiences
- Take experiences offline
- Duplicate experiences
- Edit experiences
- Create experiences
- Filter experiences
- Search experiences
Click on a column header to sort the data. The column selector ( ) can be used to select the columns to display on the page.
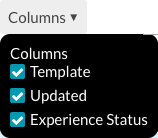
The following columns may be displayed.
- Title - Title of the experience
- Template - Template used by the experience
- Template Status - Status of the template
- Up to Date - The experience is using the latest version of the project template
- Updated - Date and time the experience was last updated
- Experience Status - Status of the experience
- Online - The experience is online and can be accessed
- Offline - The experience is offline and cannot be accessed
- Unpublished - The experience is unpublished
- Unpublished Changes - The experience is online and can be accessed but changes have been made to the experience and have not been published
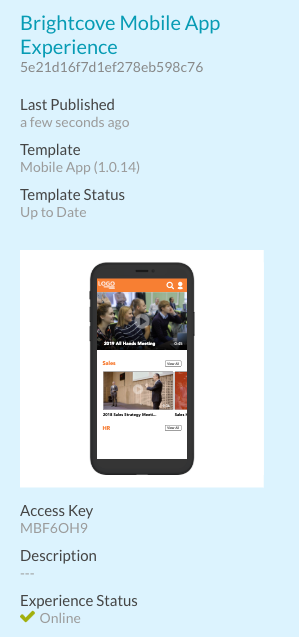
Clicking on a row will display the experience details on the right side of the page.
Creating experiences
To create a new experience, click New Experience. When you create a new experience, you'll start by choosing a template. The template controls the overall look and behavior. After selecting a template, you can customize the experience. For more information, see one of these topics:
Duplicating experiences
Duplicating an experience can be useful when you need to create an experience in multiple languages or if you're making microsites from the look and feel of an existing experience. To duplicate an experience, click on a row and then click Duplicate.
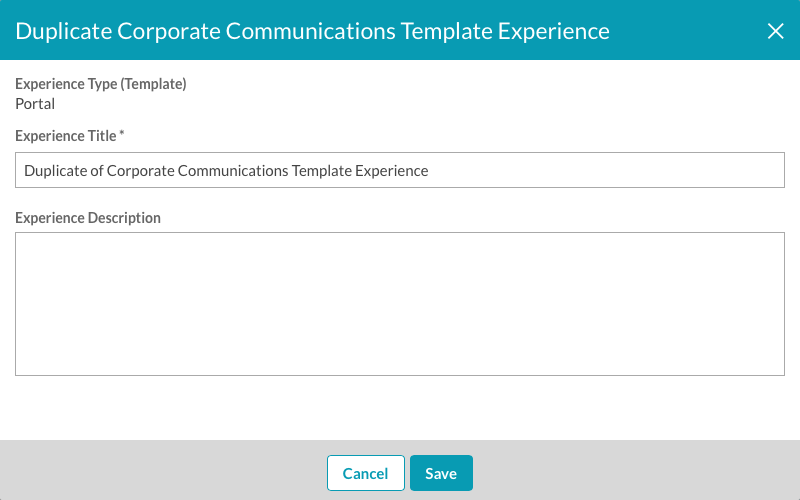
Enter an Experience Title and Description and then click Save.
Editing experiences
To edit an experience, click on the experience Title. Editing an experience will open the Experience Editor. For information on editing experiences, see one of these topics:
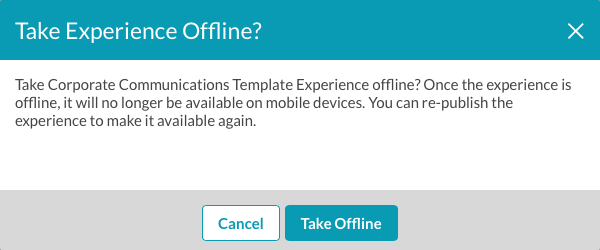
Taking experiences offline
Taking an experience offline makes it no longer accessible. To take an experience offline, click on a row and then click Take Offline. To confirm that the experience should be taken offline, click Take Offline. To make an experience available again, the experience must be republished.
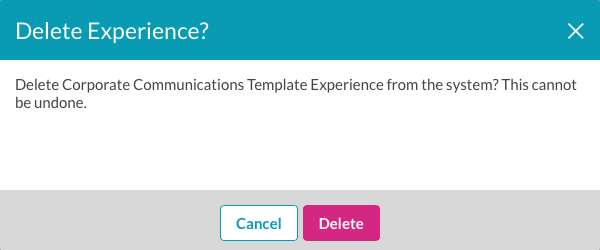
Deleting experiences
To delete an experience, click on a row and then click Delete. Confirm the deletion by clicking Delete.
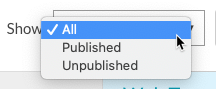
Filtering experiences
A filter can be applied to the Experiences page to limit the types of experiences that are displayed. To apply a filter, select the type of experiences to display:
- All - Display all experiences
- Published - Display all published (online) experiences
- Unpublished - Display all experiences that have been taken offline
Searching experiences
The Search box can be used to search through the list of experiences. When searching, the following properties will be searched:
- Title
- Description
- ID
- Template
- URL
- Access Key