


Securing Experiences Using Auth0 Passwordless Authentication
Experiences can be secured using Auth0 with Passwordless authentication. When using this method of security, users are asked to enter a phone number. Auth0 sends a one-time-use code using Twilio. The user then enters the code into your application. If the phone number attached to the code matches an existing user, Auth0 authenticates the user.
Before you get started
Before you configure Auth0 Passwordless, complete the following tasks:
- Configure your Mobile App experience using Auth0 as outlined in Securing Experiences Using Auth0
- Sign up for a Twilio trial account and verify your account
Getting a Twilio phone number
You need to get a Twilio phone number that will be used as the sender number when you configure Passwordless.
- Log in to your Twilio account.
- On the Dashboard page, click Get a Trial Number.
- Click Choose this Number.
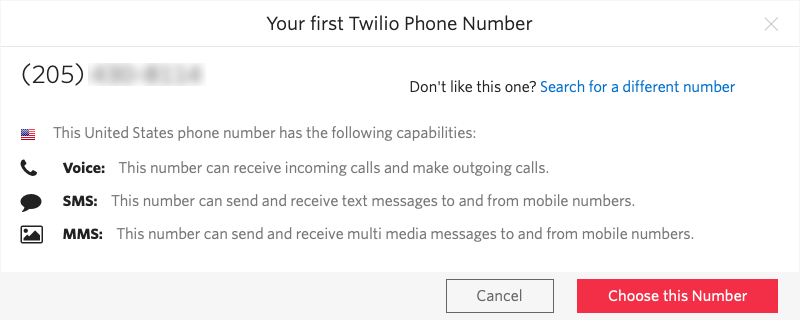
- Click Done to confirm the number.
Configuring a Passwordless connection in Auth0
Start by configuring a Passwordless Connection in Auth0.
- Log in to your Auth0 account.
- In the left navigation, click Connections > Passwordless.
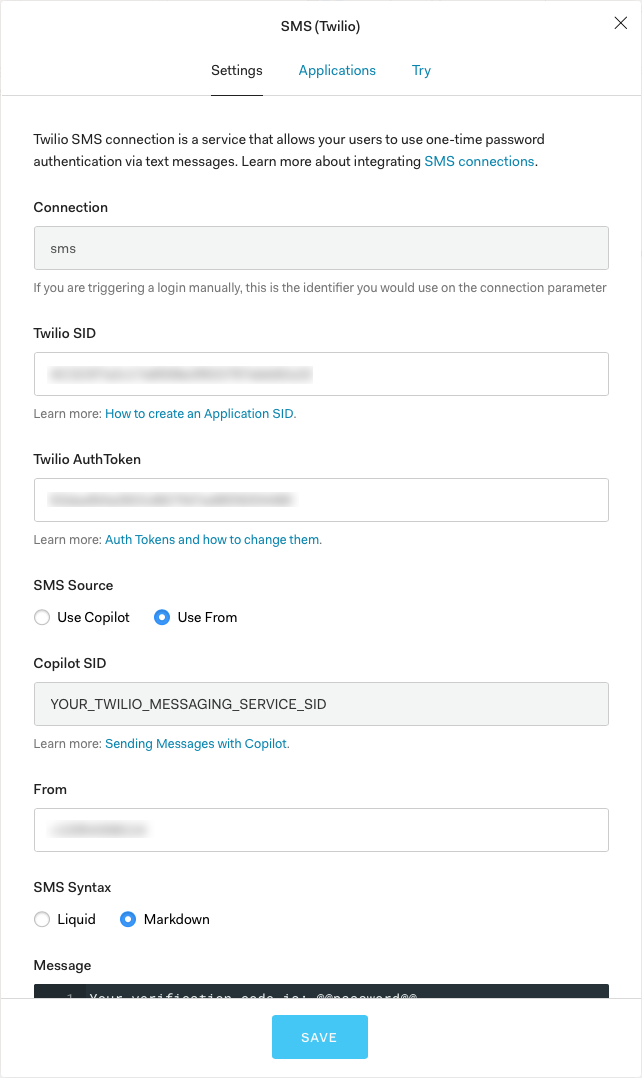
- Enable the SMS connection.
Entering your Twilio SID
- Return to Twilio.
- On the Dashboard page, locate the ACCOUNT SID field.
- Copy the value to the clipboard.
- Return to Auth0.
- Paste the value into the Twilio SID field.
Entering your Twilio Auth Token
- Return to Twilio.
- On the Dashboard page, locate the AUTH TOKEN field.
- Click the Show link to reveal the token.
- Copy the value to the clipboard.
- Return to Auth0.
- Paste the value into the Twilio Auth Token field.
Entering your Twilio From phone number
- Return to Twilio.
- On the Dashboard page, locate the TRIAL NUMBER you created earlier.
- Copy the number to the clipboard.
- Return to Auth0.
- Paste the value into the From field.
- (Optional) Customize the Message text.
Enabling your application
- Click the Applications link at the top of the dialog.
- Enable the Auth0 application you created to secure your Brightcove Engage application.
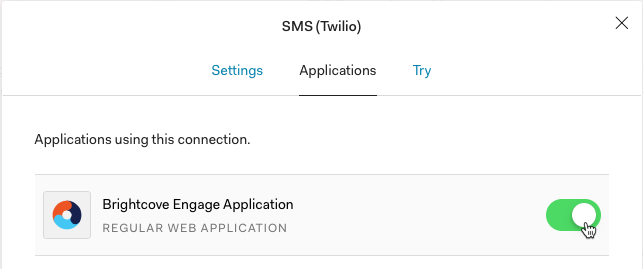
- Click Save and close the dialog.
Configuring your application to use a Passwordless login
- In the left navigation, click Universal Login.
- Click the Login link.
- Enable the Customize Login Page option.
- Select Lock (passwordless) from the DEFAULT TEMPLATES dropdown list.
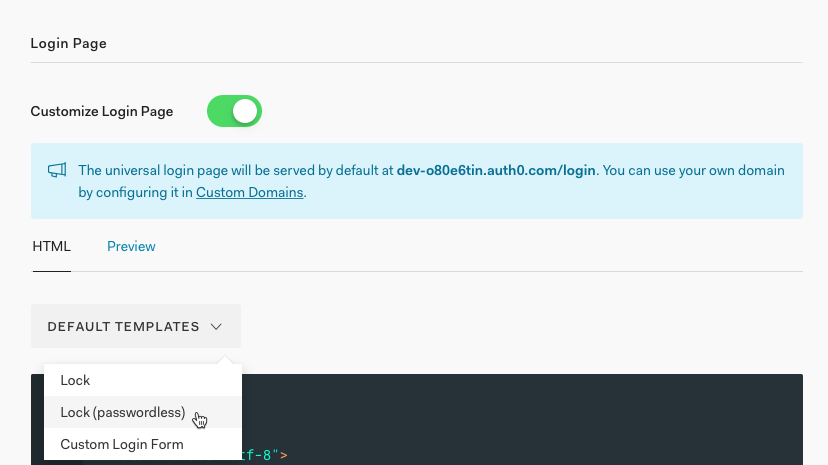
- Click SAVE CHANGES.
Previewing the experience
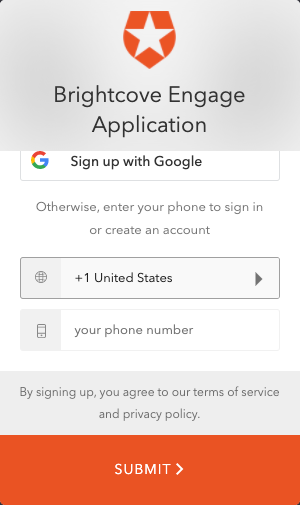
Once the above steps have been completed, you can preview your experience to confirm the viewer is prompted for a phone number.
- Log in to Brightcove Engage.
- Click on the experience title that has been secured with Auth0.
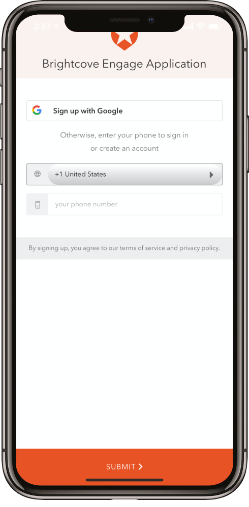
- Preview the experience. You should be presented with a login screen that prompts for a phone number.
- Close the preview.
Adding valid phone numbers to Twilio
Add one or more phone numbers to Twilio for testing purposes.
- Return to Twilio.
- In the left navigation, click the All Products & Services icon.
- In the left navigation, click Phone Numbers.
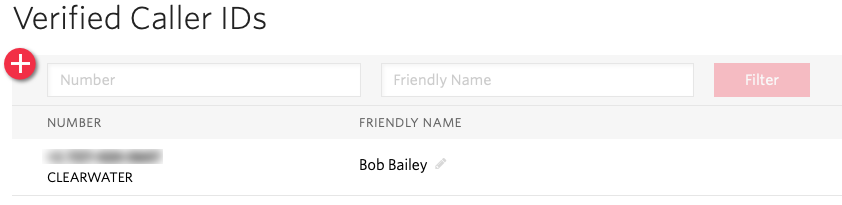
- In the left navigation, click Verified Called IDs.
- Enter numbers that you want to use for testing. Your trial account should have the phone number that was used when you created your trial account.
Validating the configuration
The last step is to test that viewers can login using their mobile number.
- Open the Brightcove Engage application on your device. If prompted, enter the Access Code for your experience.
- Enter your phone number and click SUBMIT.
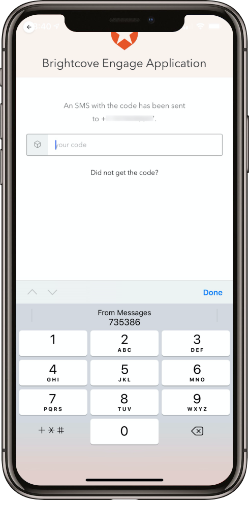
- Confirm that you receive an SMS message with a verification code.
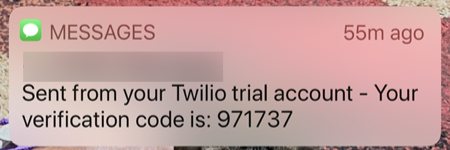
- Enter the verification code and click SUBMIT.
Your Brightcove Engage mobile app should display.